
安装git
$sudo apt-get install git #安装 git
git--version #可以看到 git 版本 我目前用的是 2.9.3
在 hosts 中加入 GitHub
这一步是为了防止后续过程出错。如果说为什么我知道,那就是因为我出错过 N 次了。
vim /etc/hosts
在底部加入192.30.255.112 https://github.com
安装Node.js
为了避免安装的 Node.js 版本过旧导致后续的 Hexo 安装过程出错,应该使用 NVM(Node Version Manager)安装 Node.js
官方给出了两个安装脚本,直接复制到命令行即可。
cURL:
$ curl -o- https://raw.githubusercontent.com/creationix/nvm/v0.33.2/install.sh | bash
Wget:
$ wget -qO- https://raw.githubusercontent.com/creationix/nvm/v0.33.2/install.sh | bash
待安装完成后重启终端使用
$ nvm install stable #安装 nvm完成安装。安装完成后可使用
npm --version配置 (optional:查看到版本号可以忽略)
#编辑
vim /etc/profile #在底部添加 PATH 变量
export PATH=$PATH:/usr/local/node/bin #保存生效
source etc/profile
安装 Hexo
$mkdir hexo #创建新目录(Hexo 只能在空白目录中初始化)
$cd hexo #进入到该目录
$sudo npm install -g hexo-cli #安装 Hexo 到全局
$hexo init #初始化 hexo
安装相关插件
为了避免出现依赖性的错误出现,应先安装插件。这需要耗费较长的时间,要耐心的等待
 npm install hexo-generator-index --save #设置首页的文章数量
 npm install hexo-generator-archive --save #设置归档的文章数量
 npm install hexo-generator-category --save #设置目录的数量
 npm install hexo-generator-tag --save #设置标签数量
 npm install hexo-server --save  #可以在允许 hexo server 时修改默认的设置
 npm install hexo-deployer-git --save #一定要有的部署器
 npm install hexo-deployer-heroku --save
 npm install hexo-deployer-rsync --save
 npm install hexo-deployer-openshift --save
 npm install hexo-renderer-marked --save #设置 markdown
 npm install hexo-renderer-stylus --save
 npm install hexo-generator-feed --save # rrs
 npm install hexo-generator-sitemap --save #网点地图
以上为安装脚本,复制到终端即可。虽然不知道这些东西的具体功能但全部安上绝对没有错。我的目的是搭建博客不是搞懂所有的东西。搞懂的话再加
测试安装成功
hexo serve #若 4000 被占用则使用
hexo serve -p 5000


没有提示,请重新安装
浏览器输入http://0.0.0.0:4000 可以访问到首页
可以看到这样的画面

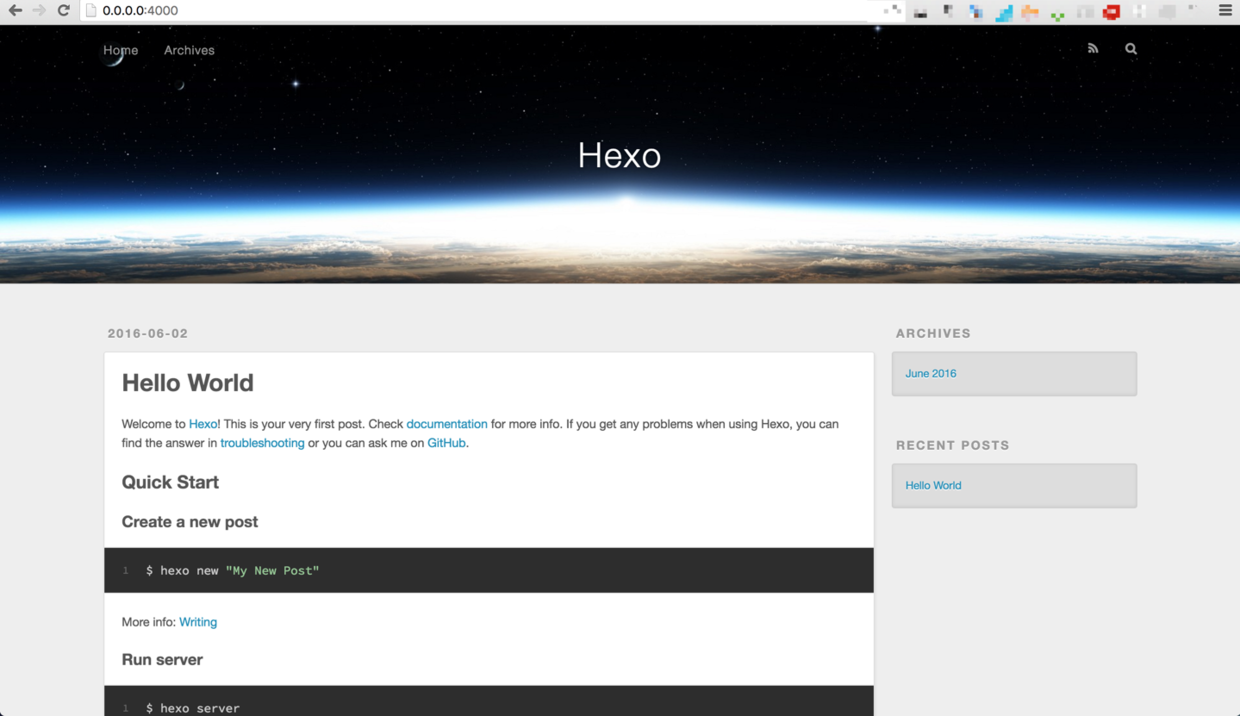
我的博客已经应用了主题,偷个懒用了别人的图。在文末会统一给出参考文章链接
链接 GitHub
配置 git
#配置 GitHub 账号的邮箱和用户名
$ git config --global user.name "your username"
$ git config --global user.email "[email protected]"使用git config --list查看配置
配置 ssh
使用 ssh-keygen -t rsa -b 4096生成 ssh 值
一般会在/home/username/.ssh/id_rsa生成
用cat /home/username/.ssh/id_rsa.pub查看并复制到GitHub 设置上通常以ssh-rsa开头
在 GitHub 上创建仓库并配置
- 创建名为
用户名.github.io的仓库。比如我的用户名是 fengkx 那我就创建一个名为 fengkx.github.io 的公开仓库 - 编辑 Hexo 的
_config.yml文件
  type: git
  repo: [email protected]:fengkx/fengkx.github.io.git
  branch: master
  message: ' 站点更新:{{now ("YYYY-MM-DD HH/mm/ss")}}'
  repository: https://github.com/fengkx/fengkx.github.io.git
这是我的配置 可供参考,要注意对齐,否则会出事


生成静态文件并上传
- 用
hexo generate编译 - 在 hexo 目录下使用
hexo deploy上传到 GitHub
完成后就能在 https://username.github.io
例如 https://fengkx.github.io
看到你的博客。
主题
安装 Next 主题
在 hexo 目录下使用git clone https://github.com/iissnan/hexo-theme-next themes/next
并在 hexo 目录下的 _config.yml 中使用:/搜索 theme: 把后面默认为landscape 的参数改为next
PS 推荐静态页面托管网站Netlify, 可以绑定自己域名的情况下支持 https 全站加密
参考文章
- Hexo 官方文档 - 英文版
- Hexo 官方文档 - 中文版
- Ubuntu 下搭建 Hexo+github 博客 by MaxZing
- CentOS 下搭建 Hexo+github 博客 by MaxZing
- [How to access a git repository using SSH?] c
- Ubuntu 平台下通过 Hexo 在 Github 上搭建博客教程 (一)
本文链接: https://www.fengkx.top/post/building-a-blog-based-on-hexo-and-github-in-ubuntu/
发布于: 2017-07-25